
Fish Sculptures 3D Visualization
I was commissioned by a Metal Sculptor in Canada to create a 3D visualization for a project proposal for a park in the town of Hastings, Ontario. The design was sketched up by the client and I had to create the sculptures and park in 3D software and then create an animated video flying through the park to show how the sculptures would look in place. The design incorporated a school of varied fish made out of stainless steel flowing through the park; swimming out of the lake, across a stone path in a curving formation above people’s heads and then back into the lake again.
With the designs in-hand I used Google Maps to create an accurate representation of the landscape and fish in 3D Studio Max. Part of the process involved having to create a new stainless steel texture technique in order to represent the correct reflection and depth for the scales on the body of the fish as you will see below.
1. Sketches
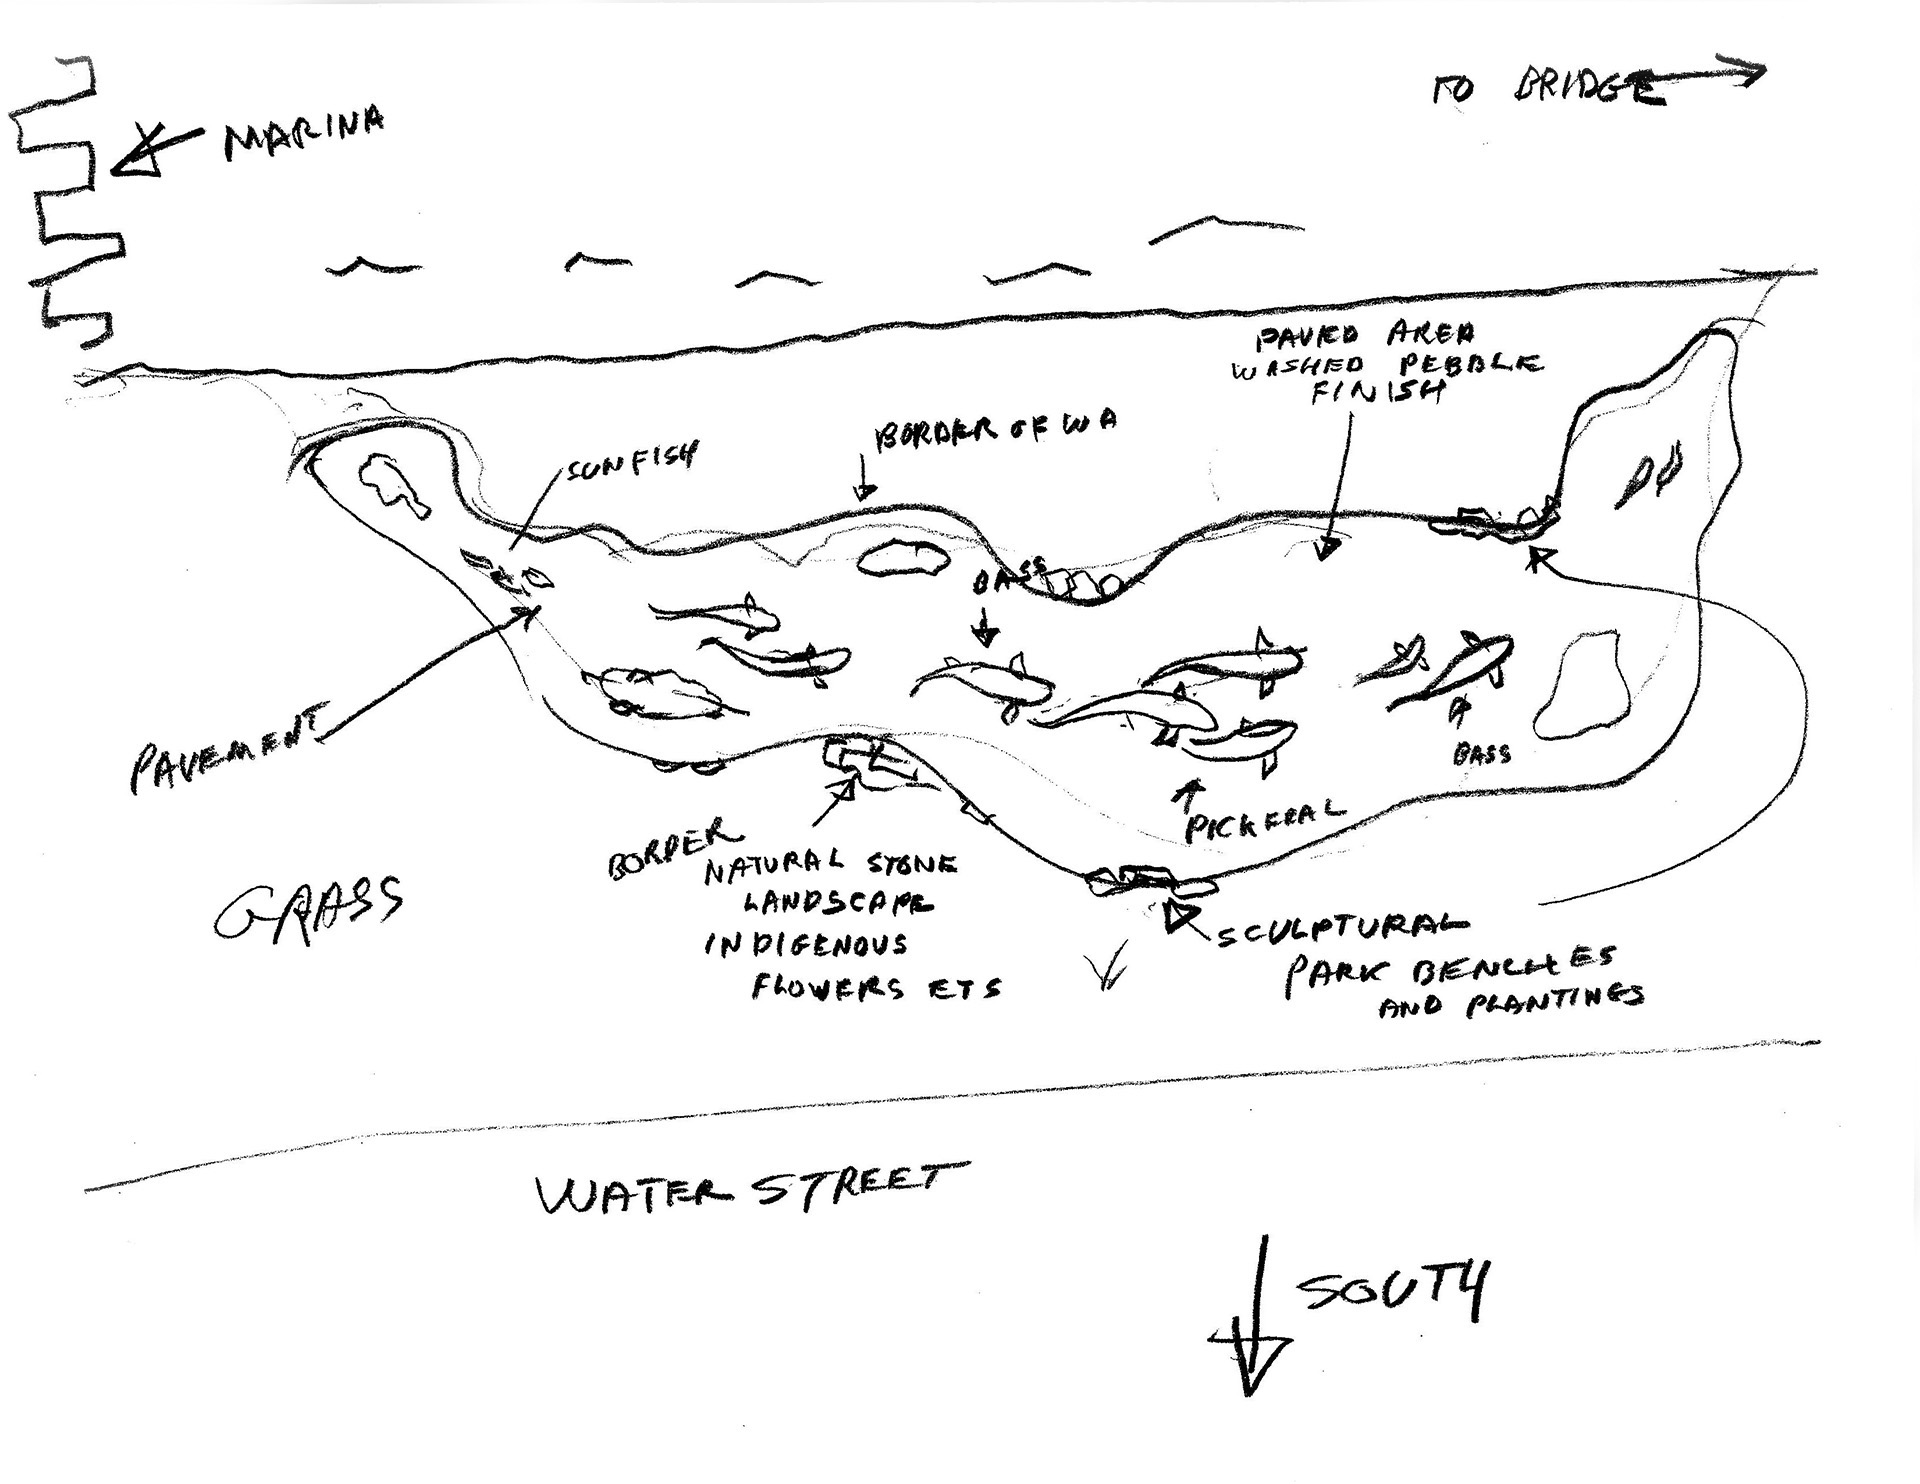
After the initial consultation over Skype the client gave me a written project description and a collection of sketches outlining the general arrangement of the sculptures and the surrounding area.
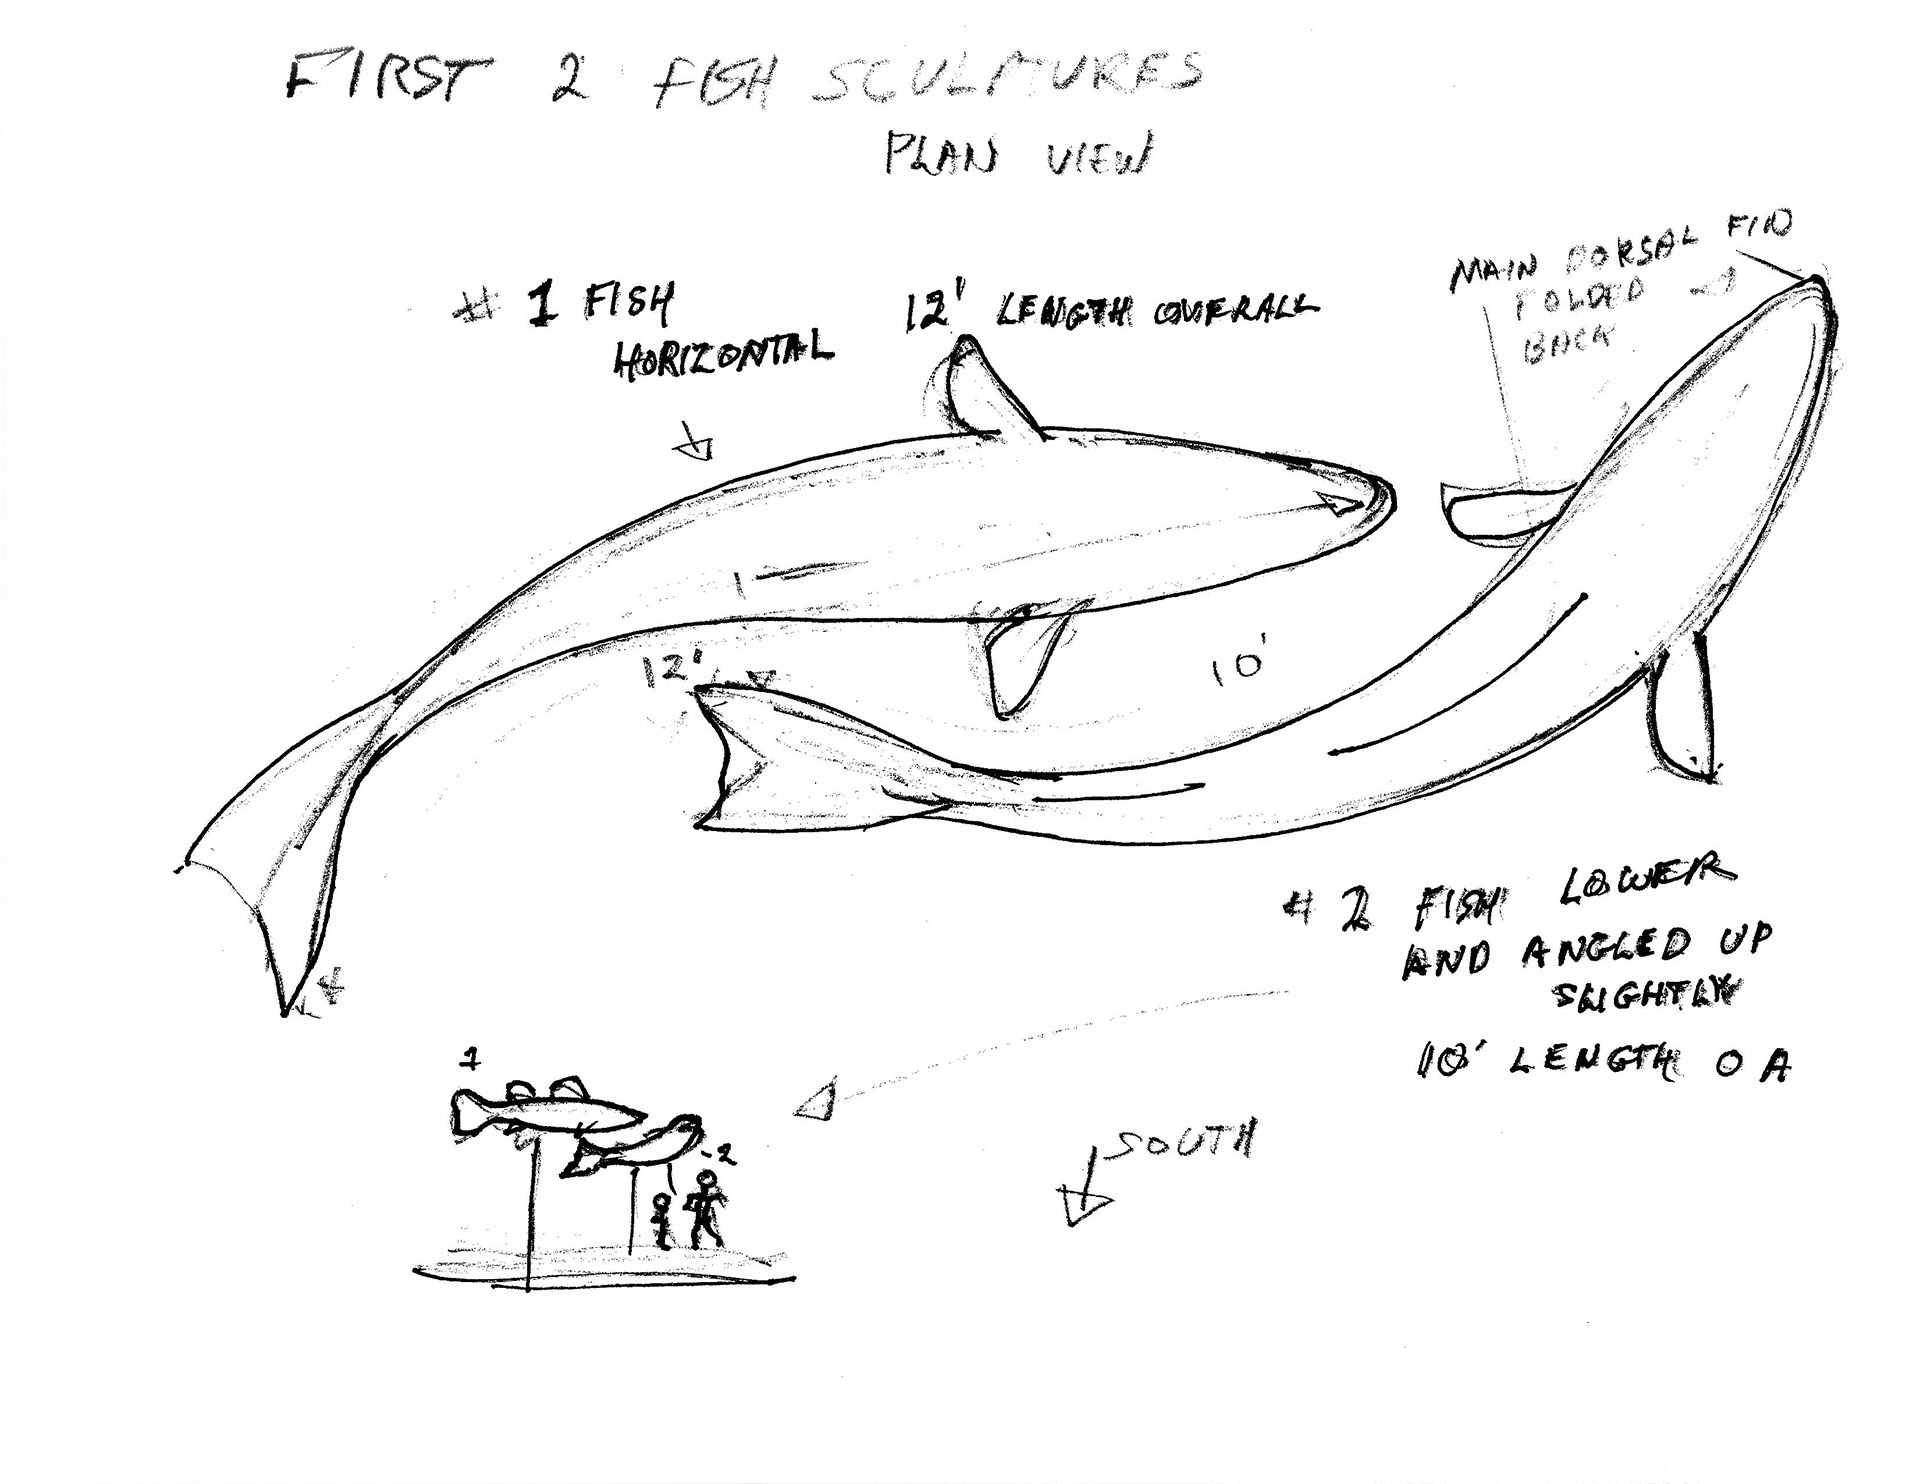
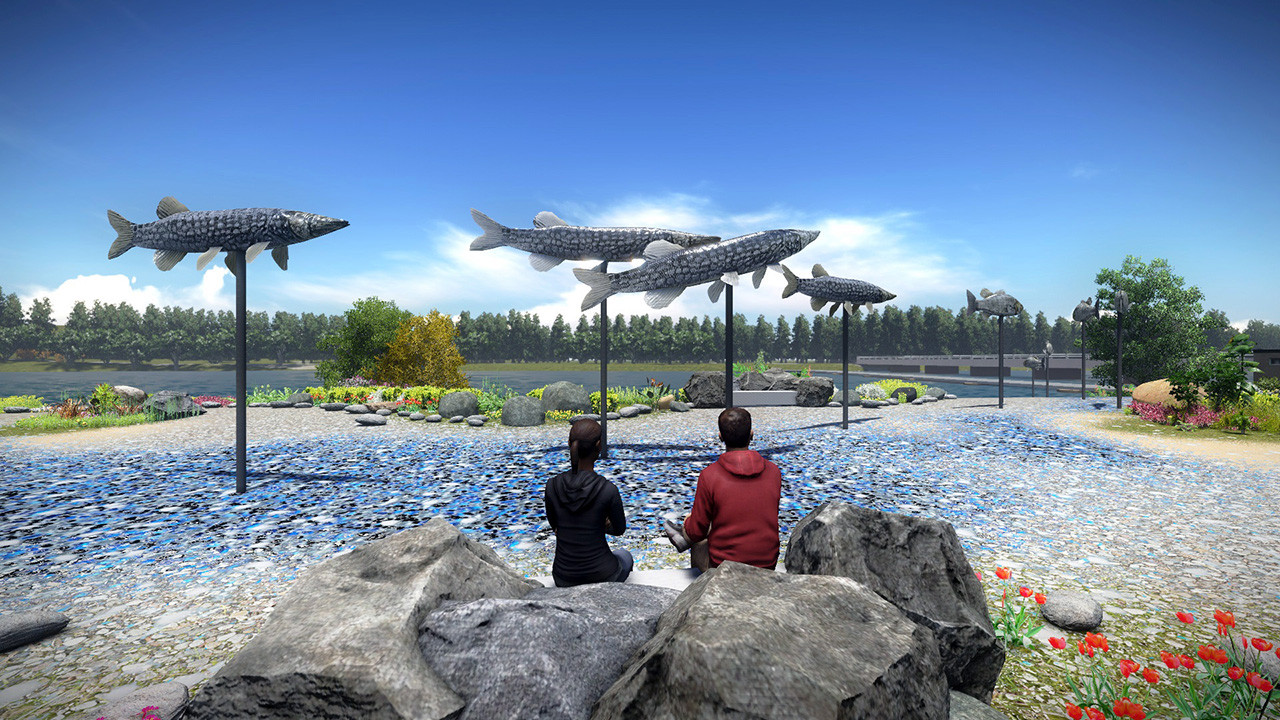
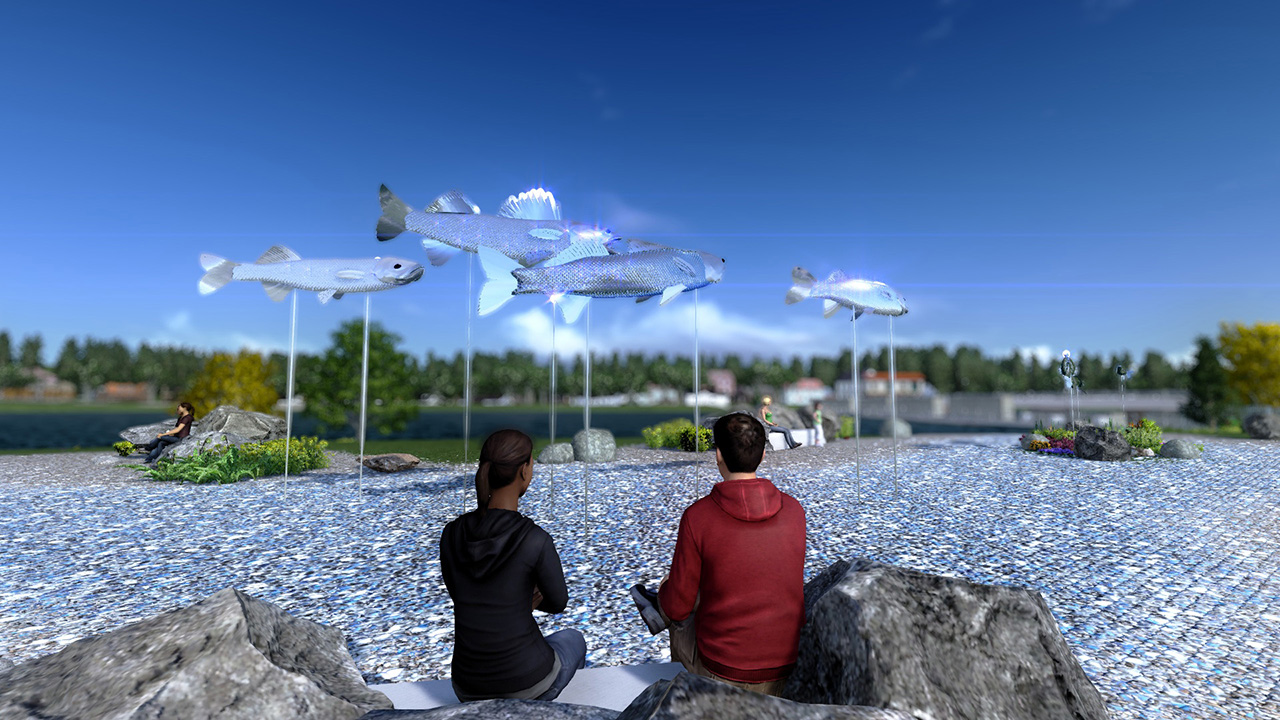
There are two pickerel in the center of the park as a main focus point with a facing sitting bench. This was an important focal point which required a specific sketch detailing the exact formation that the client wanted in this visualization.
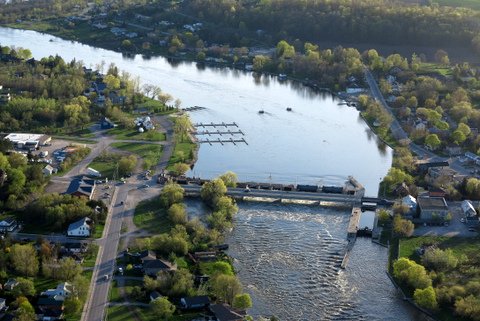
2. Landscape Photos
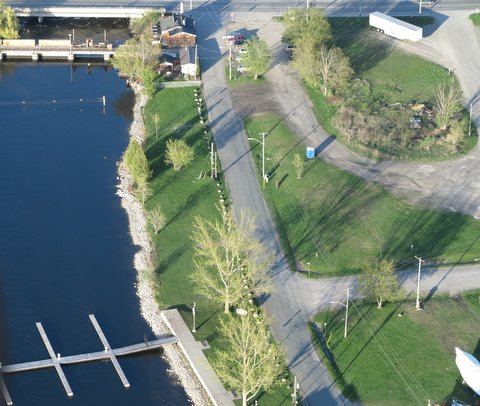
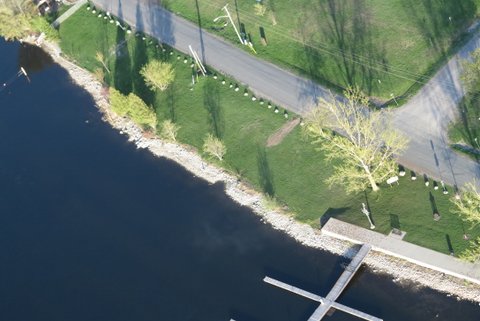
The client sent me some photos of the location of the park using a quadcopter with a Go Pro attached to it. These photos came in great use throughout the development of this animation. I used a screen capture from Google Maps of the location which I placed into my 3D Modeling software in order to get the proportions of the landscape to scale. I used the photos from the Go Pro to see where the details like trees, buildings and bridges are and how they look.
Hastings, Ontario, Google Maps: http://goo.gl/maps/0wpR0
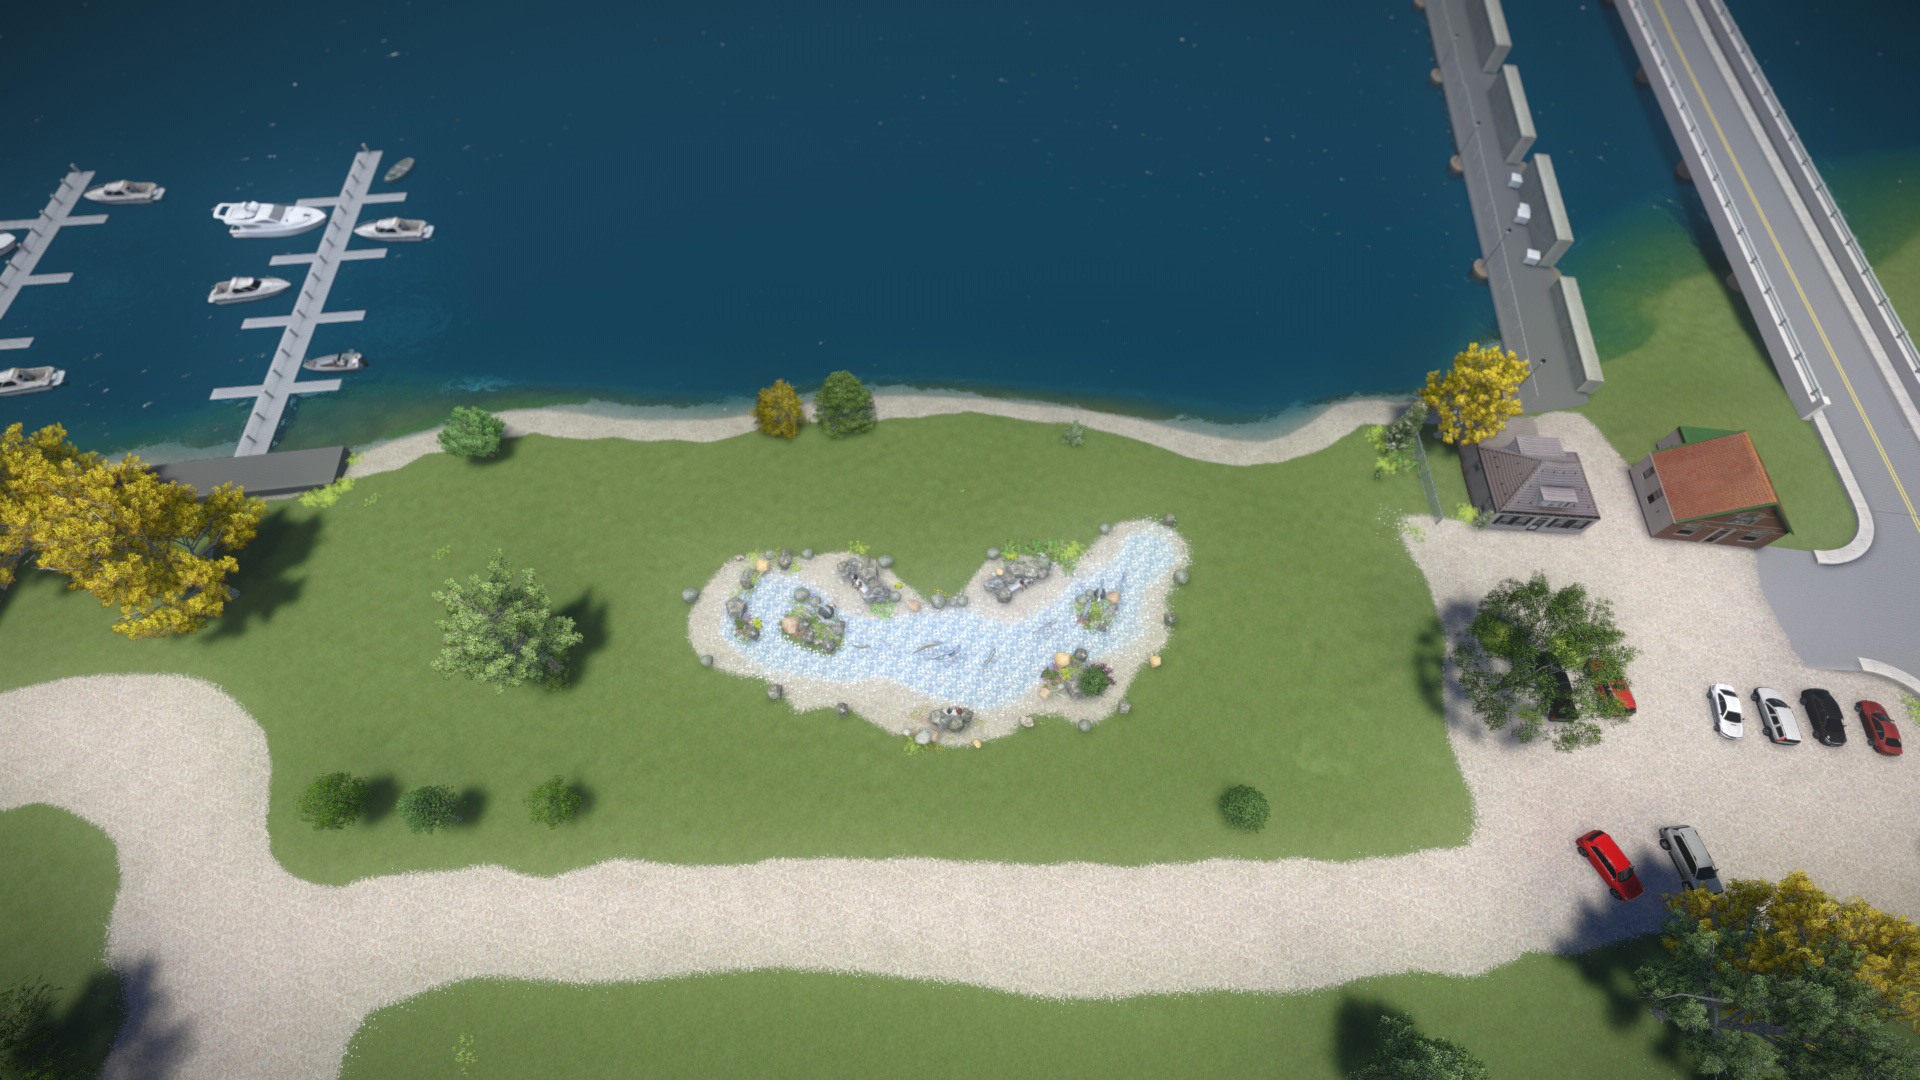
3. Modeling the Landscape
Using a Google Maps as a reference point I began creating the landscape in 3D Studio Max. I focused on getting the basis down first with the lake and the river bank and then worked on adding trees, buildings, cars the main bridge crossing the lake. I used freely available pre-made assets for most of the background detailing like trees as there wasn’t any need for me waste time making my own.
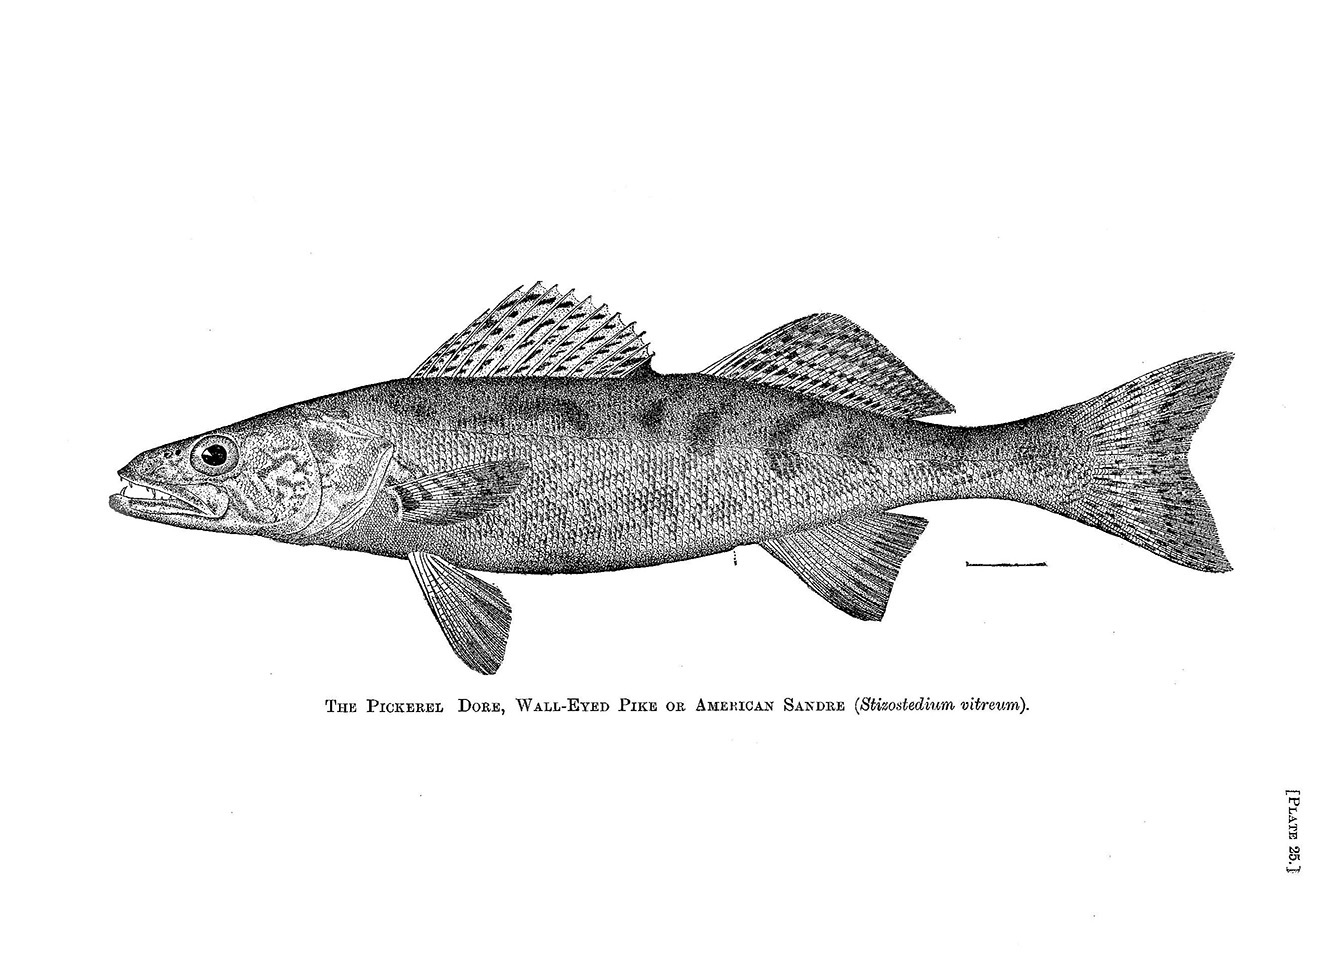
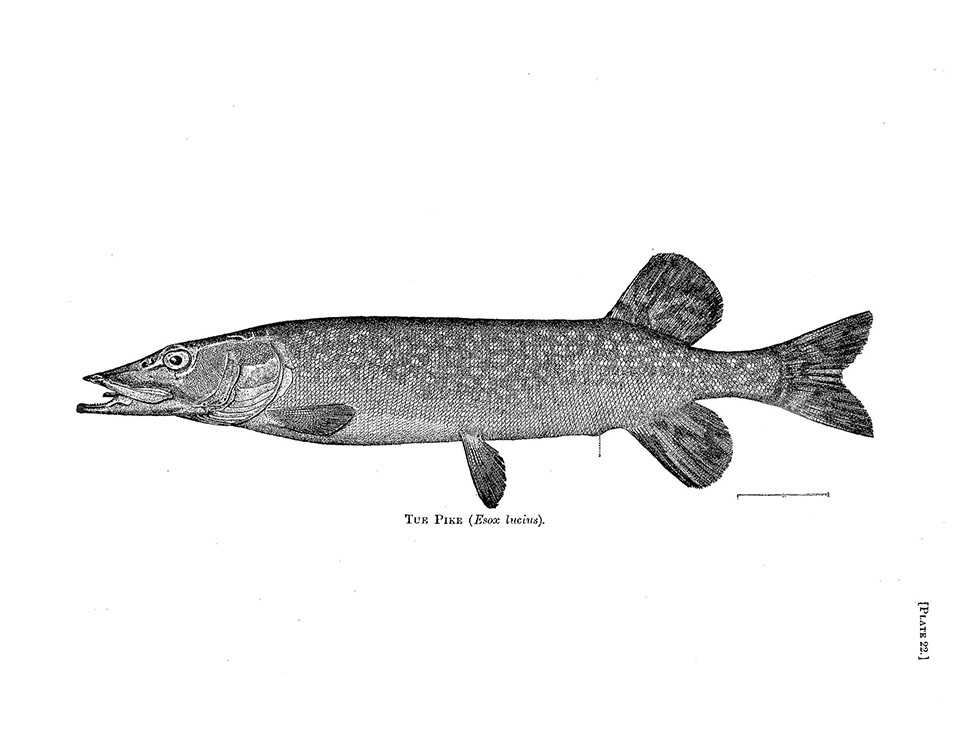
4. Modeling the Pickerel & Pike
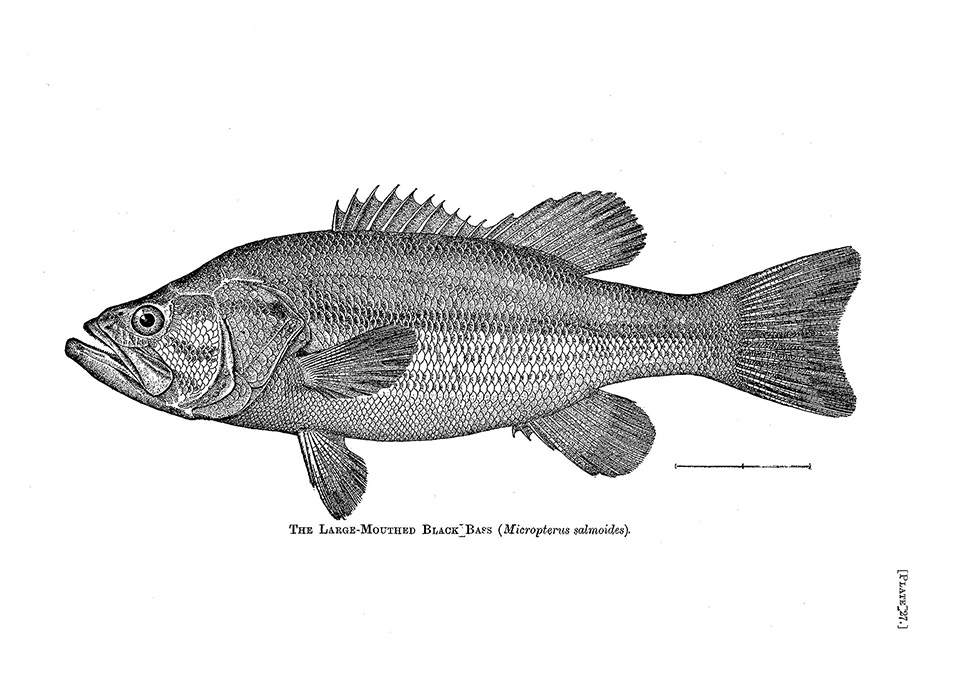
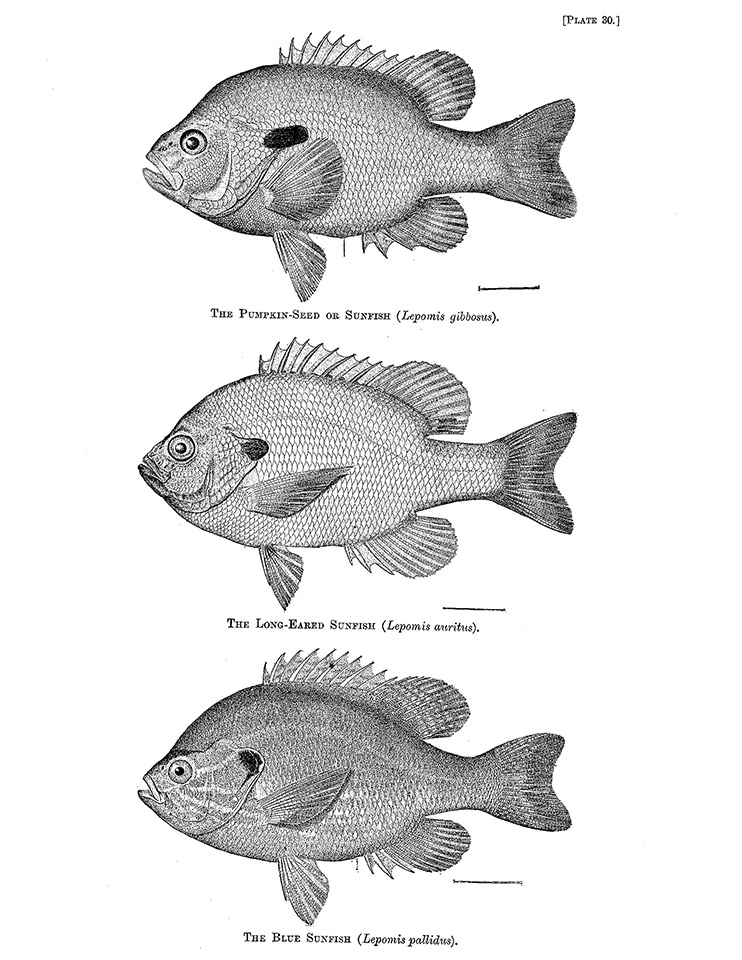
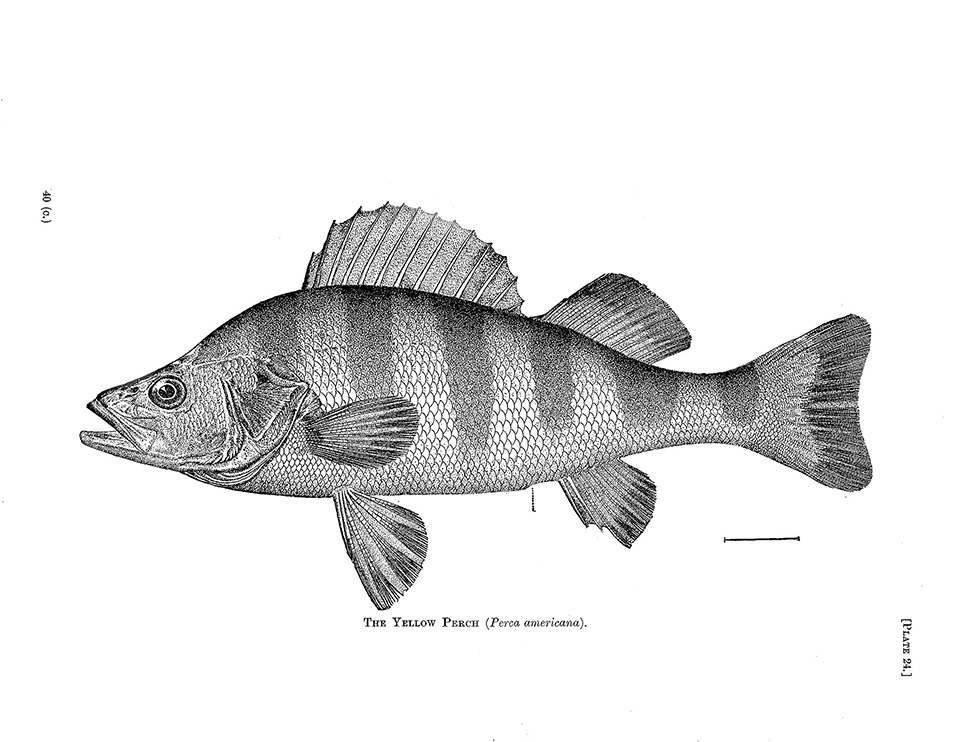
Once I had the basic land formation in place I began working on the fish in the center of the park. My client sent me a selection of images of the fish he wanted in the animation. I began modeling the Pickerel and Pike according to the original sketch that I had received listed in Step 1.
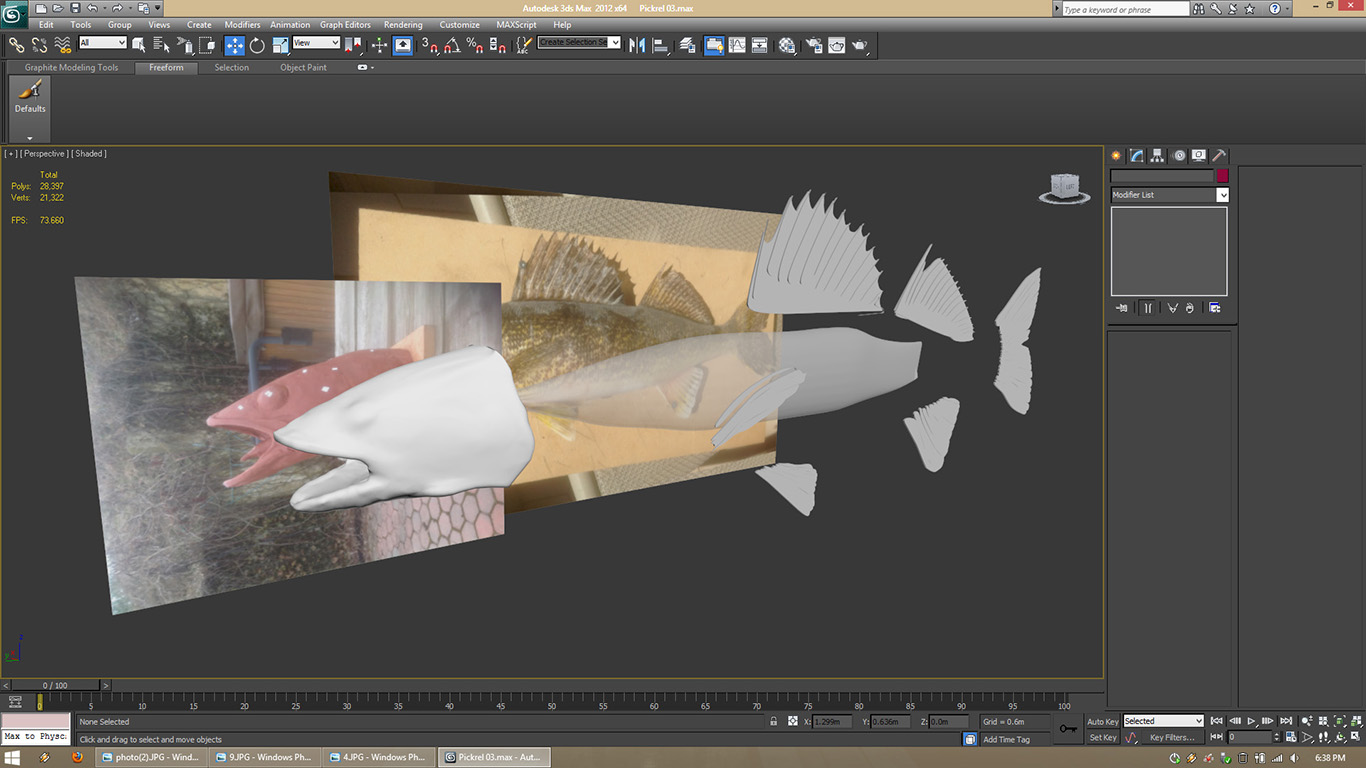
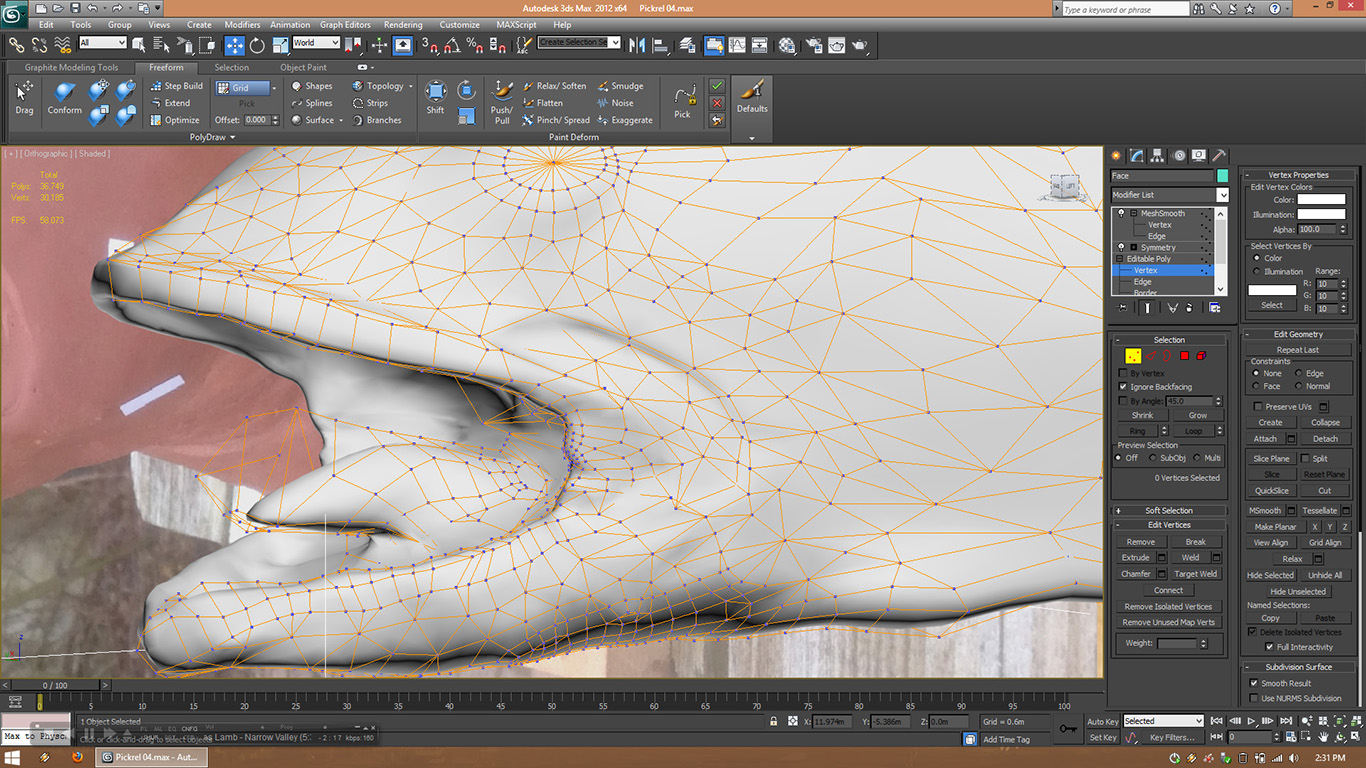
I started with a basic building block for the fishes body and fins. For the head I used a series of reference photos at different angles and using soft form modeling techniques I sculpted out the form for the head, in a similar fashion to sculpting with clay.
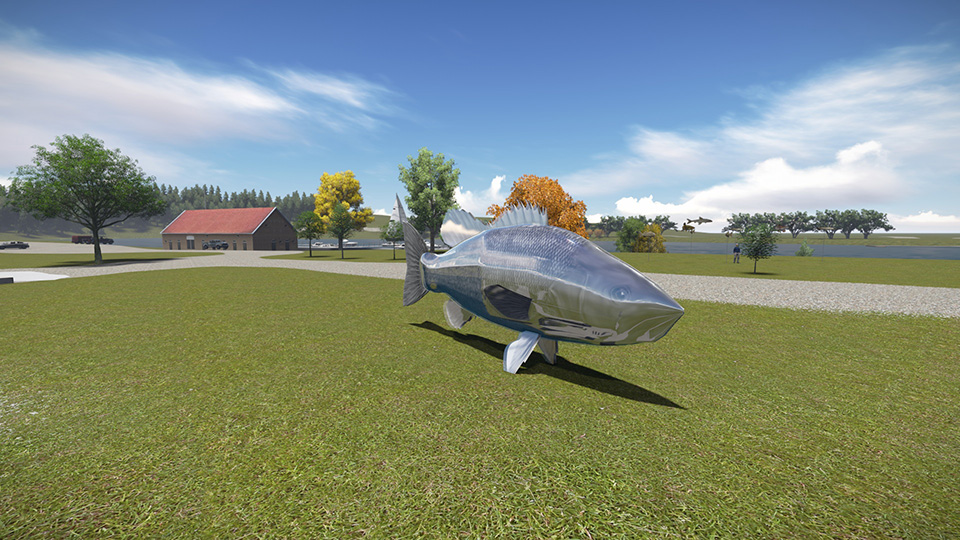
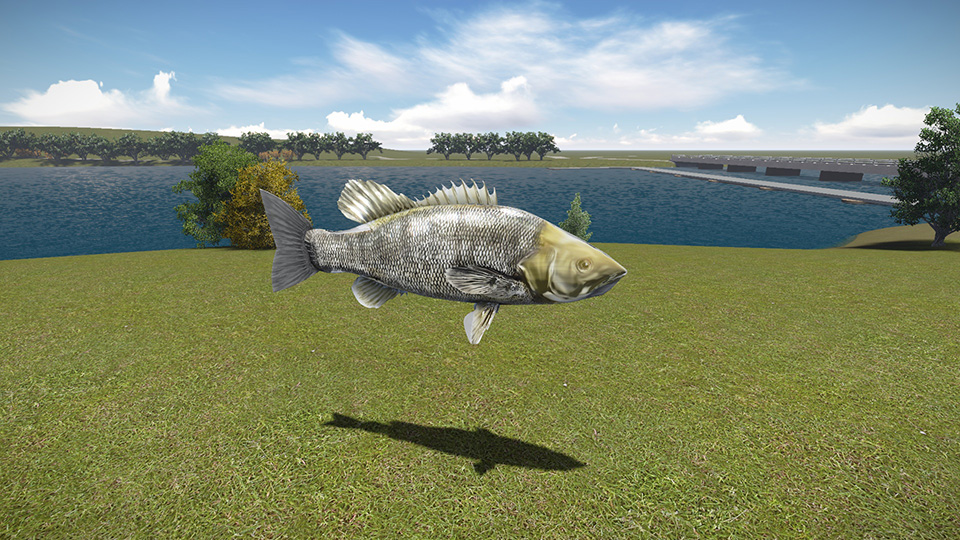
Once I finished the modeling process, I began designing the stainless steel texture for the scales and body of the fish. I played around with different techniques to get to my vision of how I thought they should look. In this image I used two overlapping textures for the scales; one below that contains the black and white large scale pattern; and a texture above that with smaller scales with a reflective shine.
Note: The fish are currently floating in the air; standing poles get added later in the development process.
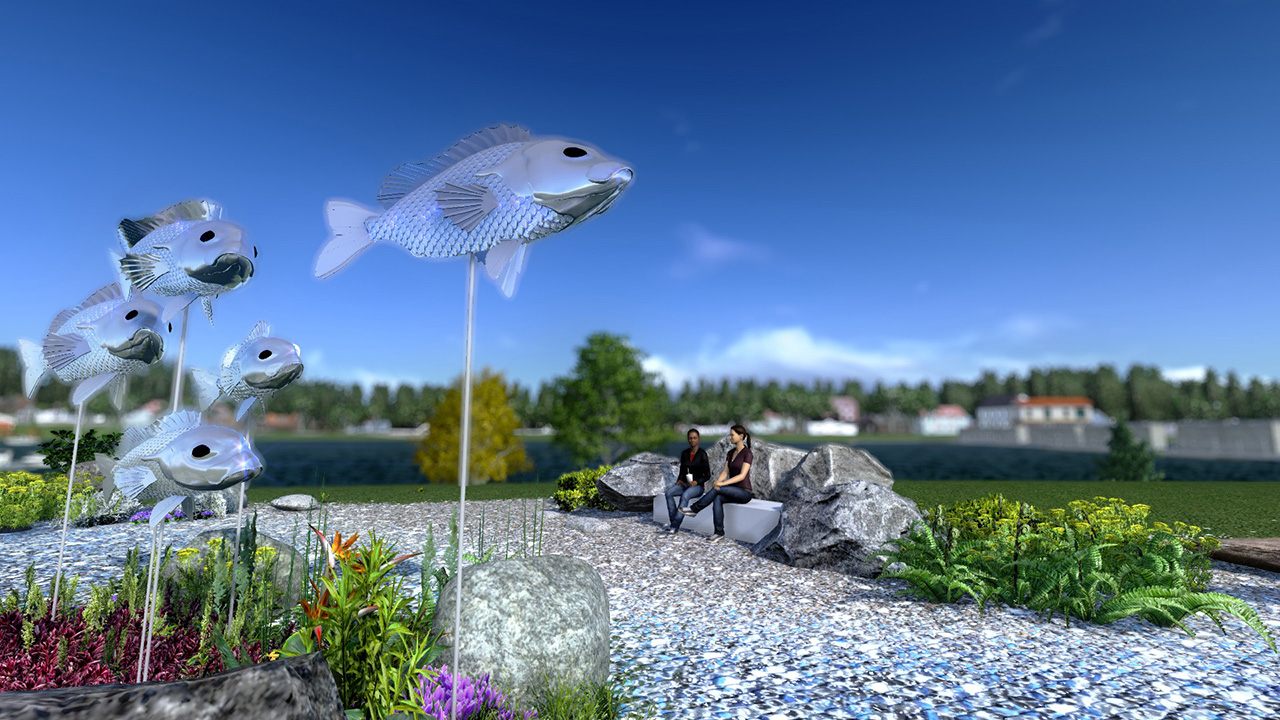
5. Modeling the Fishes
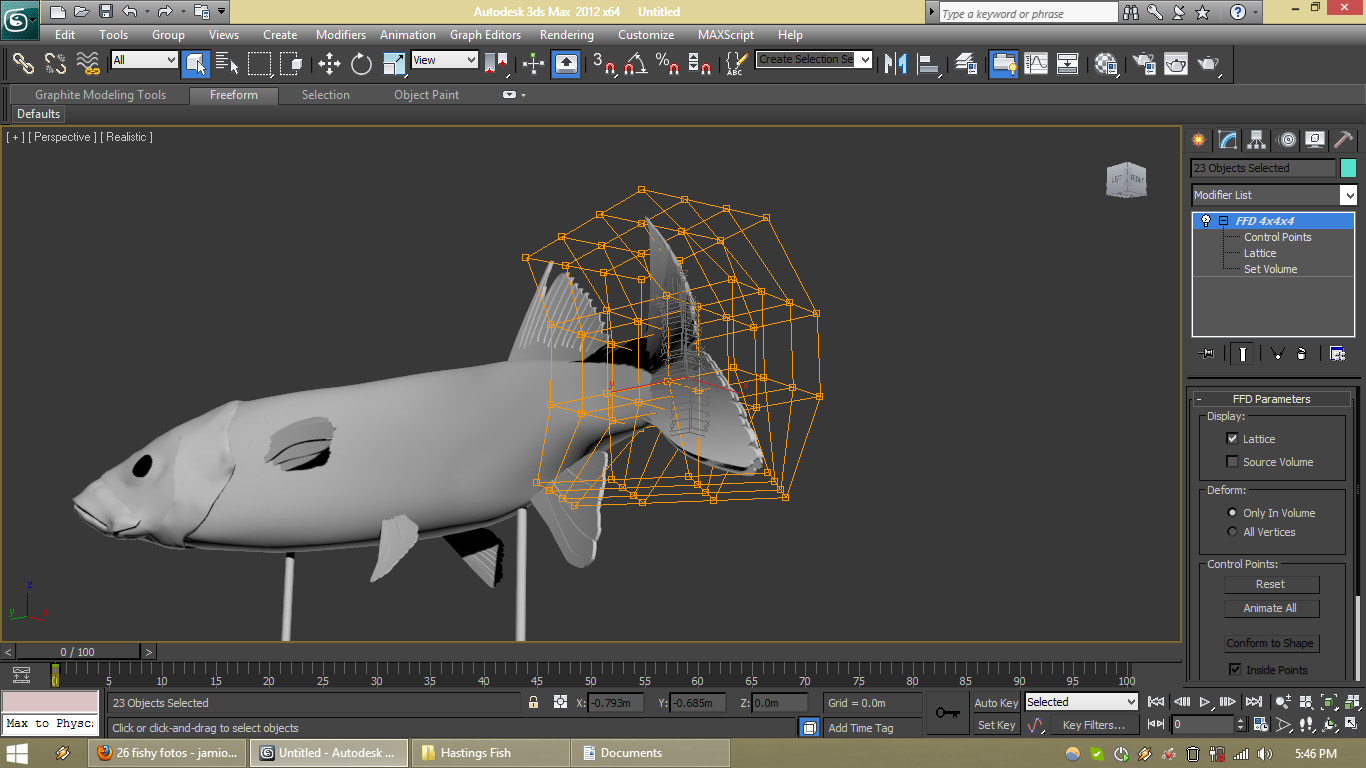
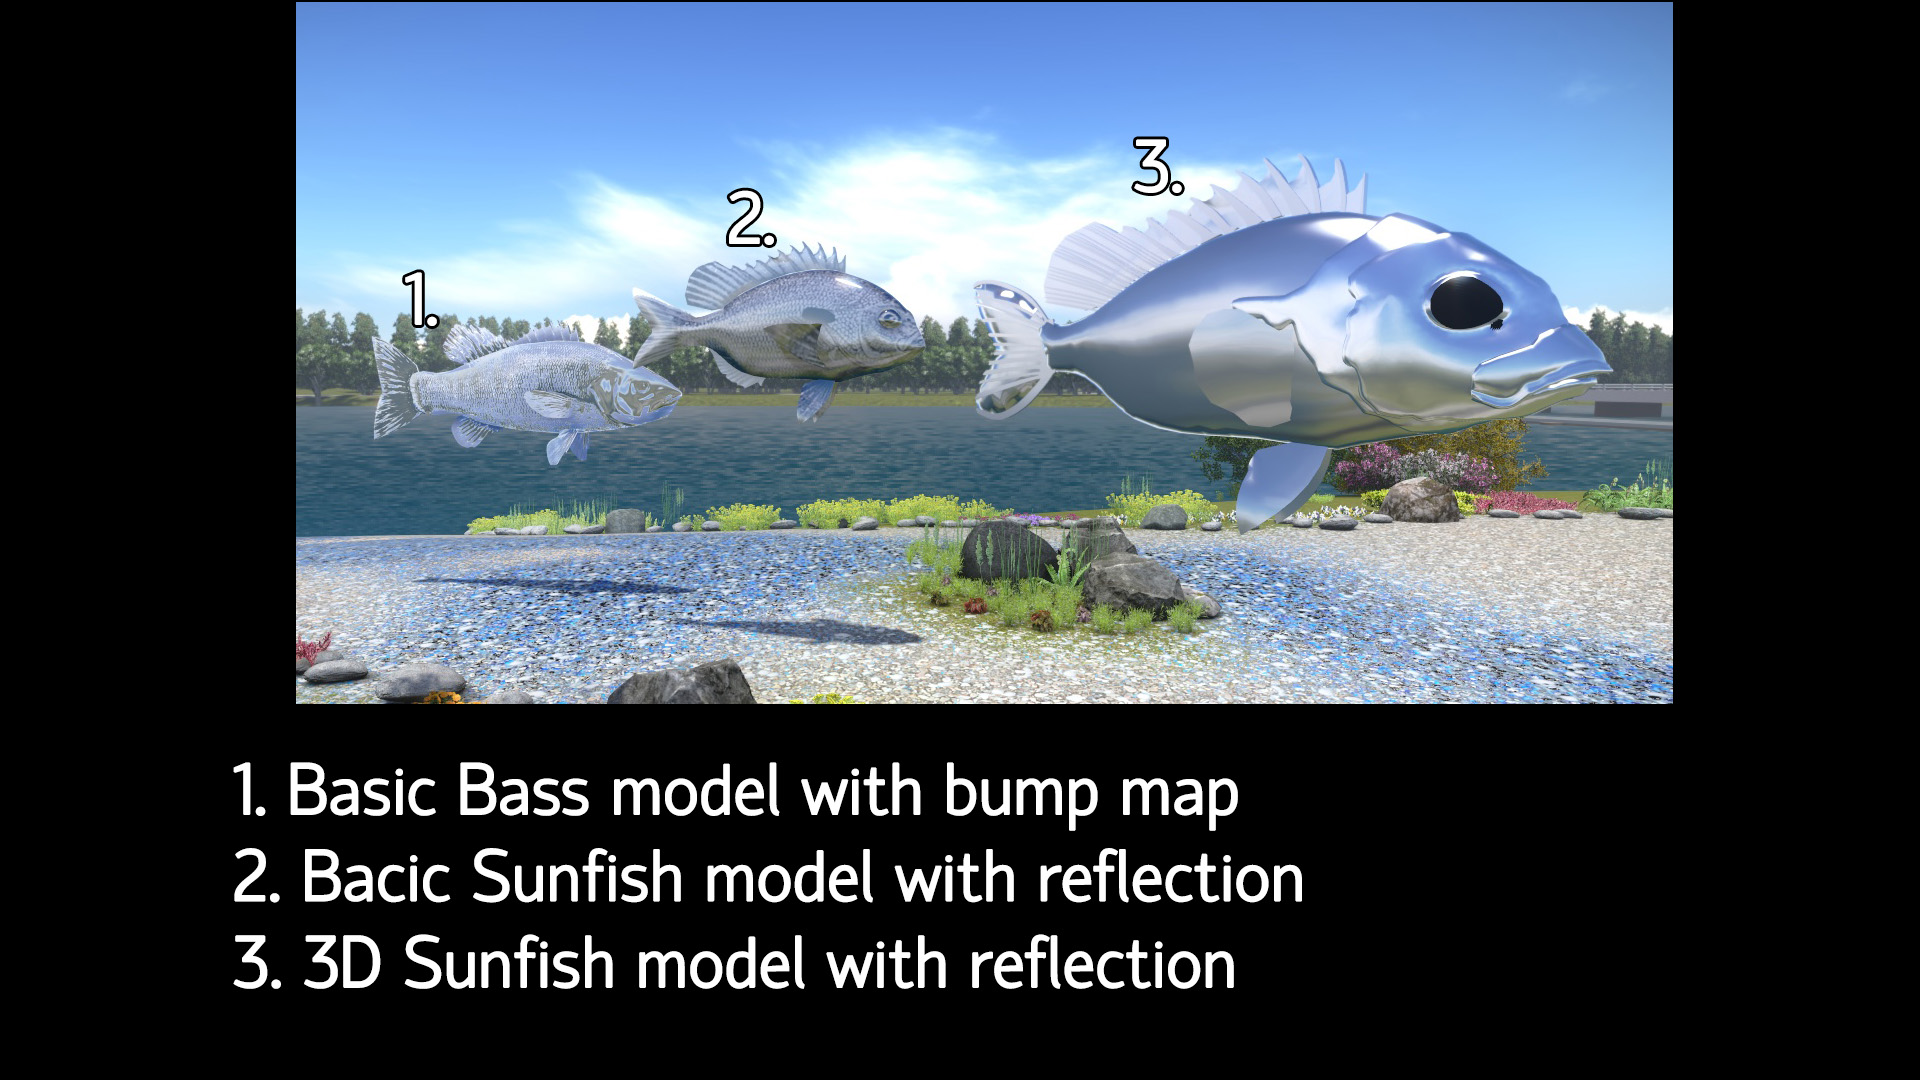
With the Pike and Pickerel in place I started working on the varied school of fish located near the waterfront. Using the same process as before I built out the main body of the fish first, but kept their heads flat along with the body as I was experimenting with different skin/scale texturing techniques to see if I could get the depth of the details to appear through textures alone. This would potentially save a bit of time from having to model in detail the heads of the smaller fish.
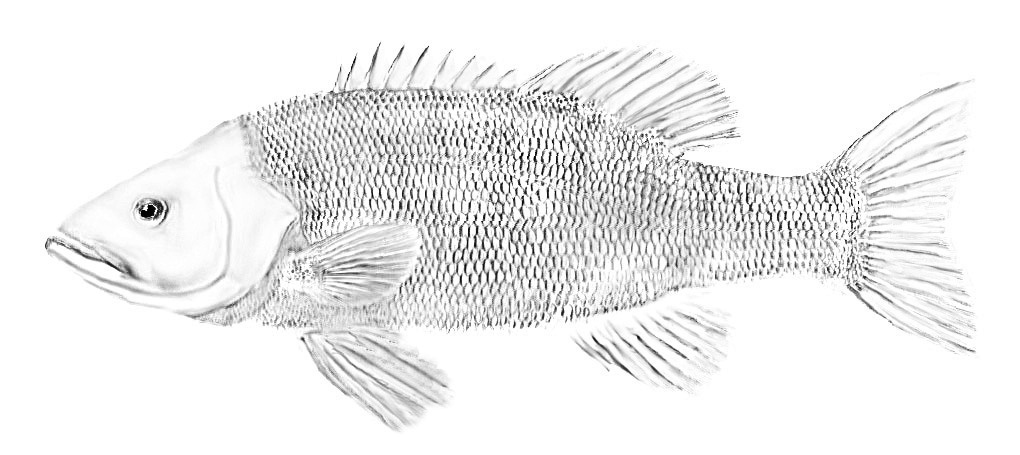
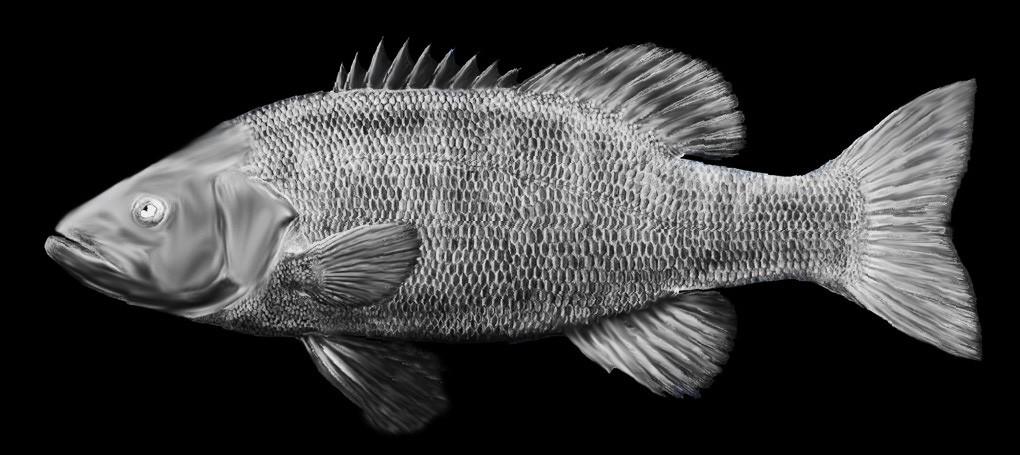
Here is a couple of renders from my texture development process. The left image has a general steel shine texture applied to the entire fish as a whole – which looks more like an solid inflatable sculpture. The right image shows my development of breaking apart the textures for the head and scales the colorization was for demonstration purposes. While there is a nice bit of depth created by the texture I wasn’t fully satisfied with my result and so I decided that it would be best to complete the full 3D detailed model for the heads.
6. Fish Detail & Textures
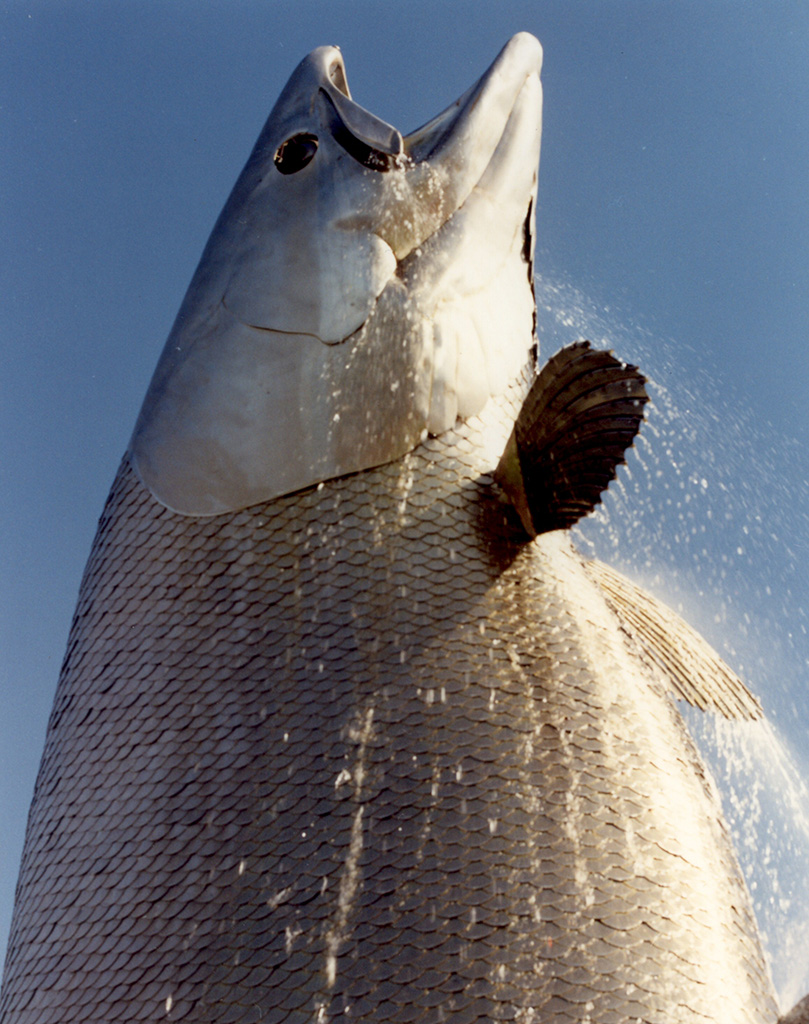
I send regular updates to my clients as development progresses. At this point I received some helpful feedback on how the stainless steel fish would look in real life. My client sent me a photo as an example shown here.
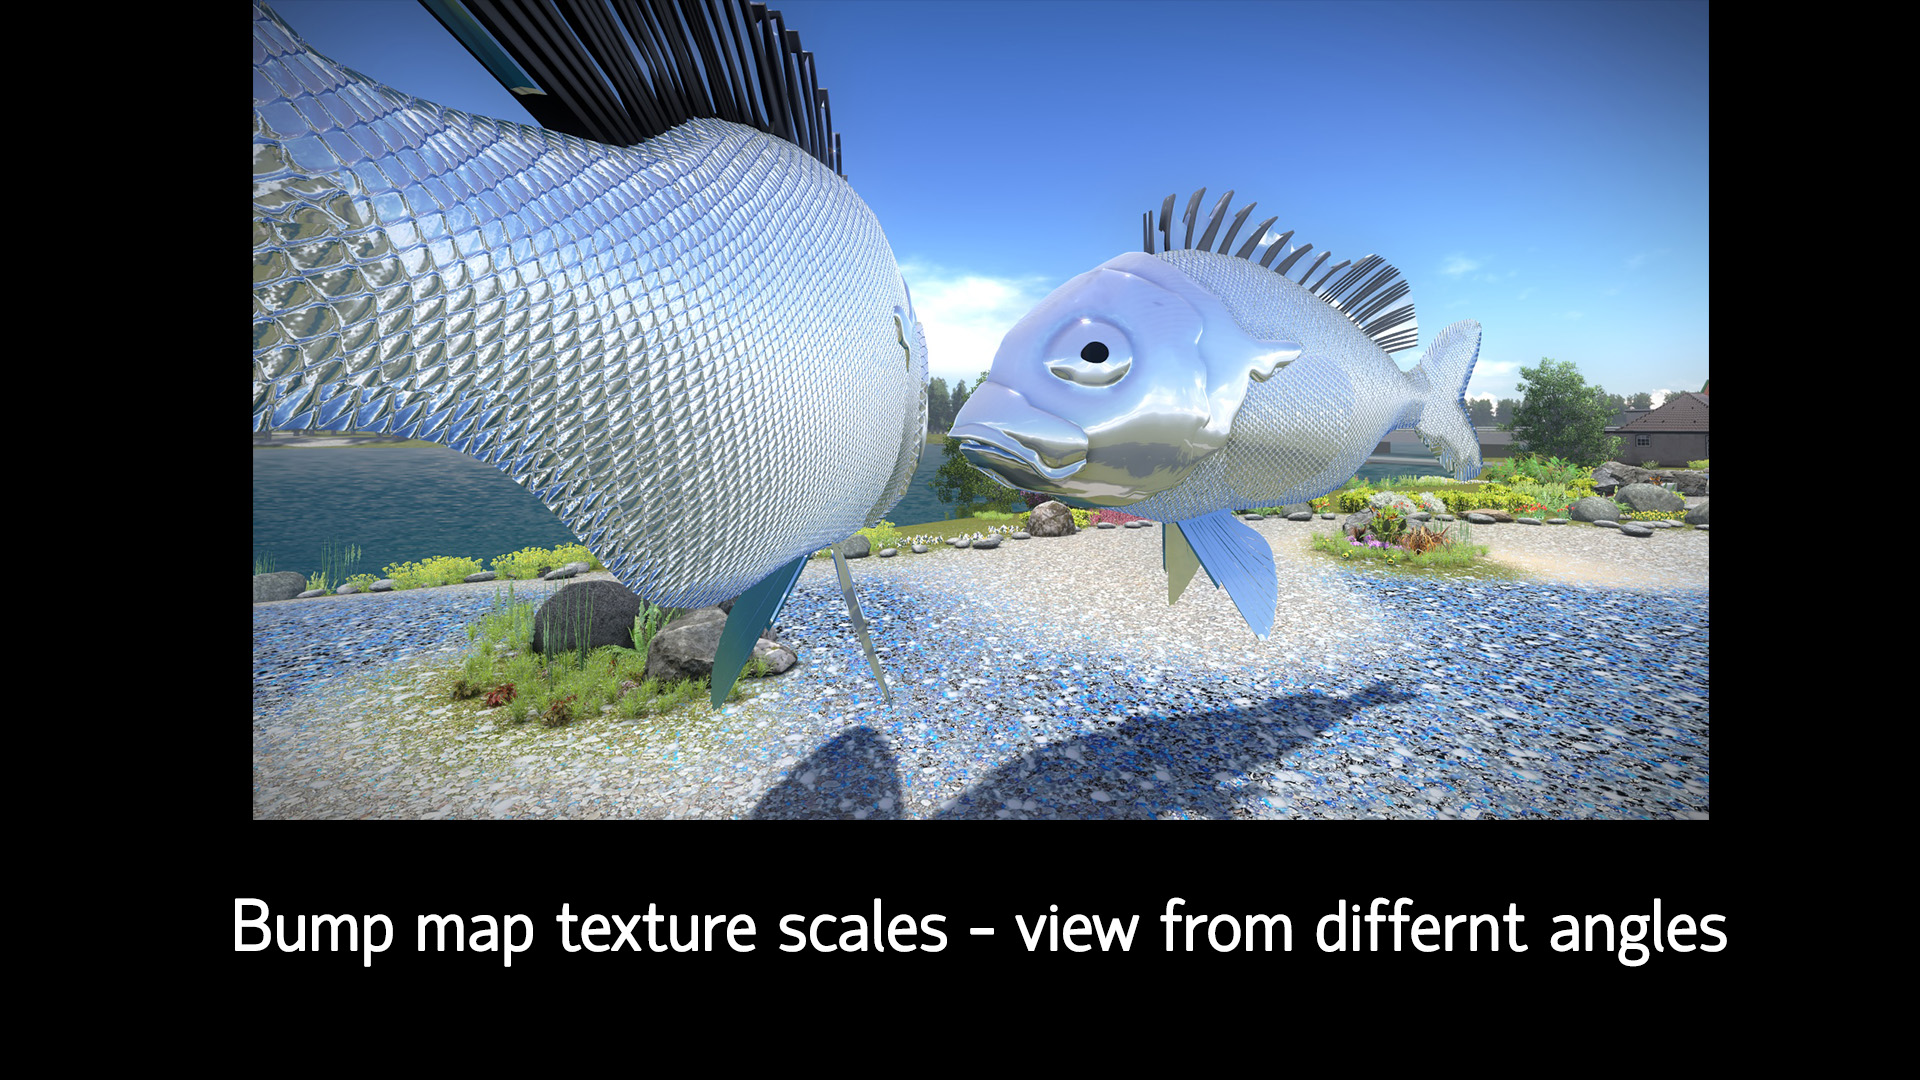
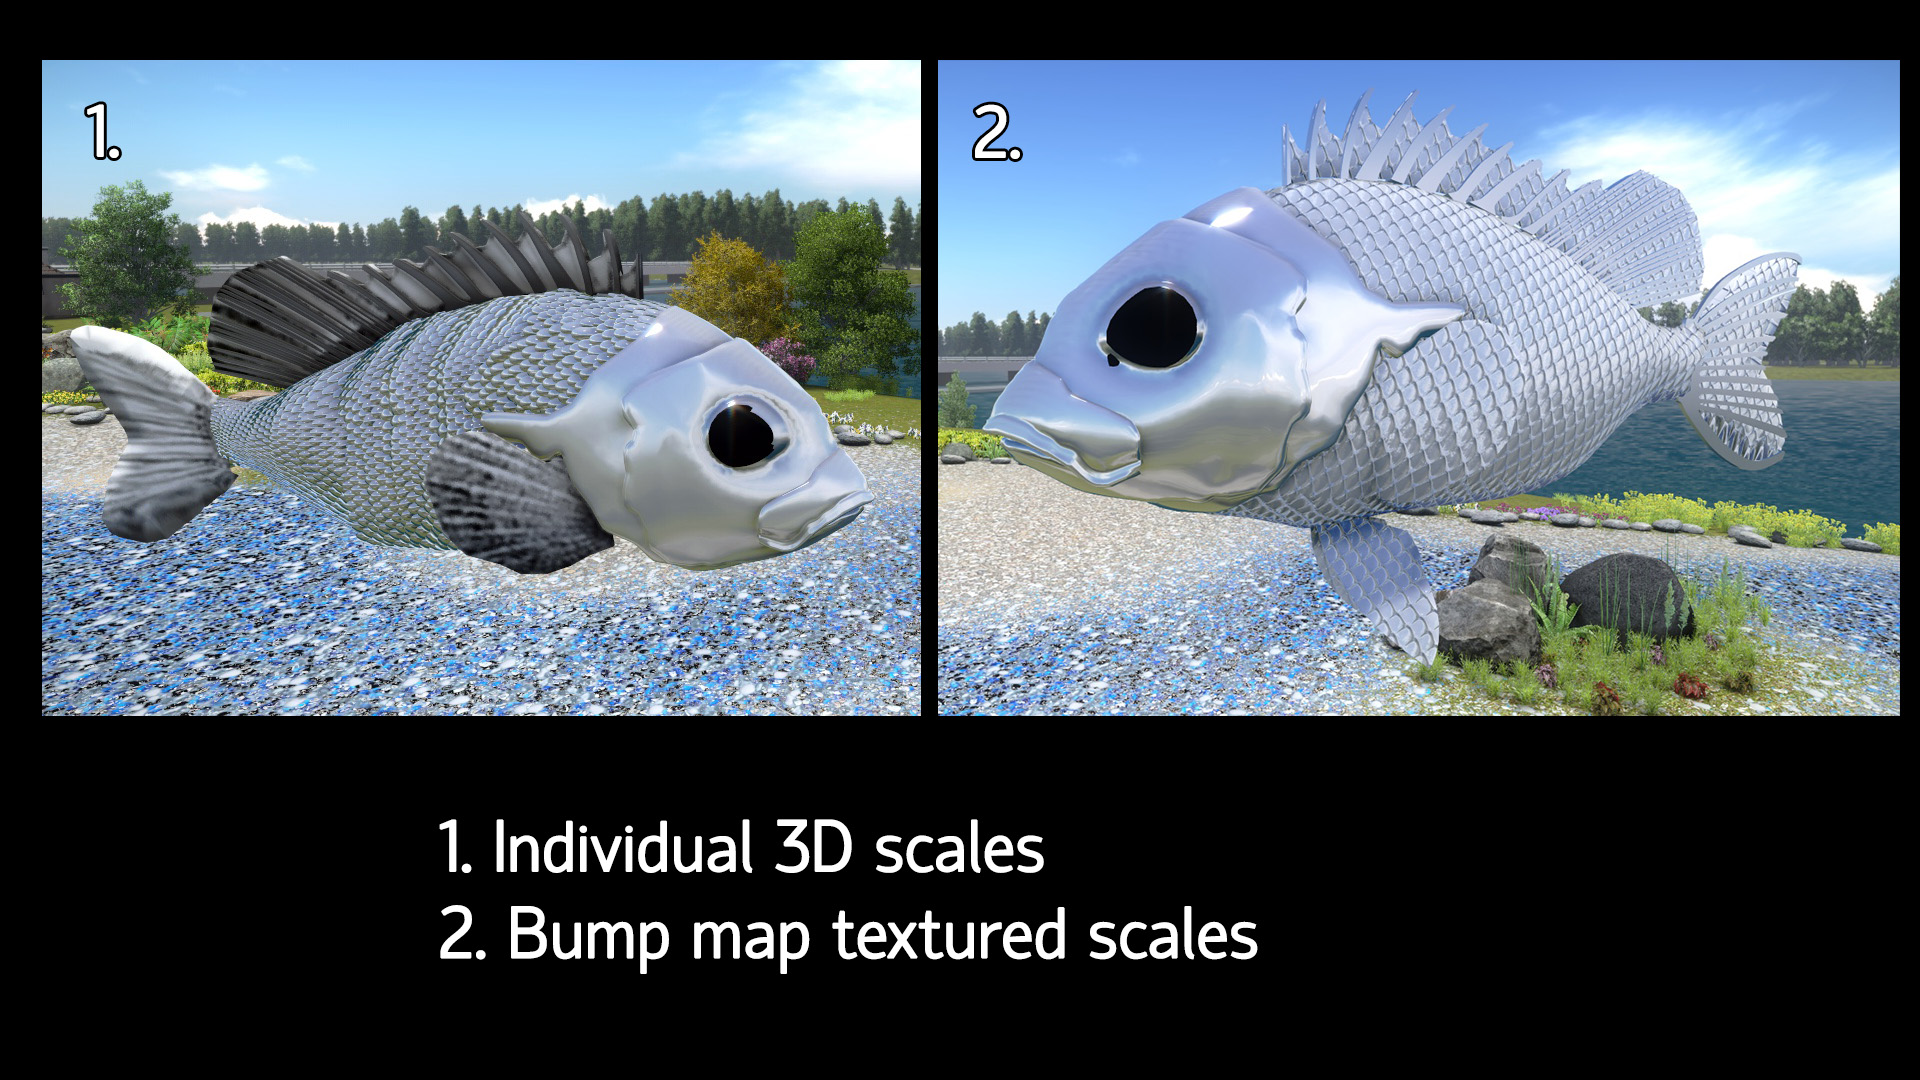
I reworked my textures and I made use of bump and normal maps in order to produce the depth and shine textures for the scales. I had tried experimenting with making each scale an separate 3D model on the fishes body and placing them in an overlapping fashion – but it was difficult to get the flow and position to look correct. After experimenting for a while I settled on using textures to represent the scales as I think that it achieves the correct appearance with relative ease.
The images here show the different types of textures that I used in 3D Studio Max in order to create the metal shine and depth of scales in the final production. The images below show the differences between my experimental techniques.
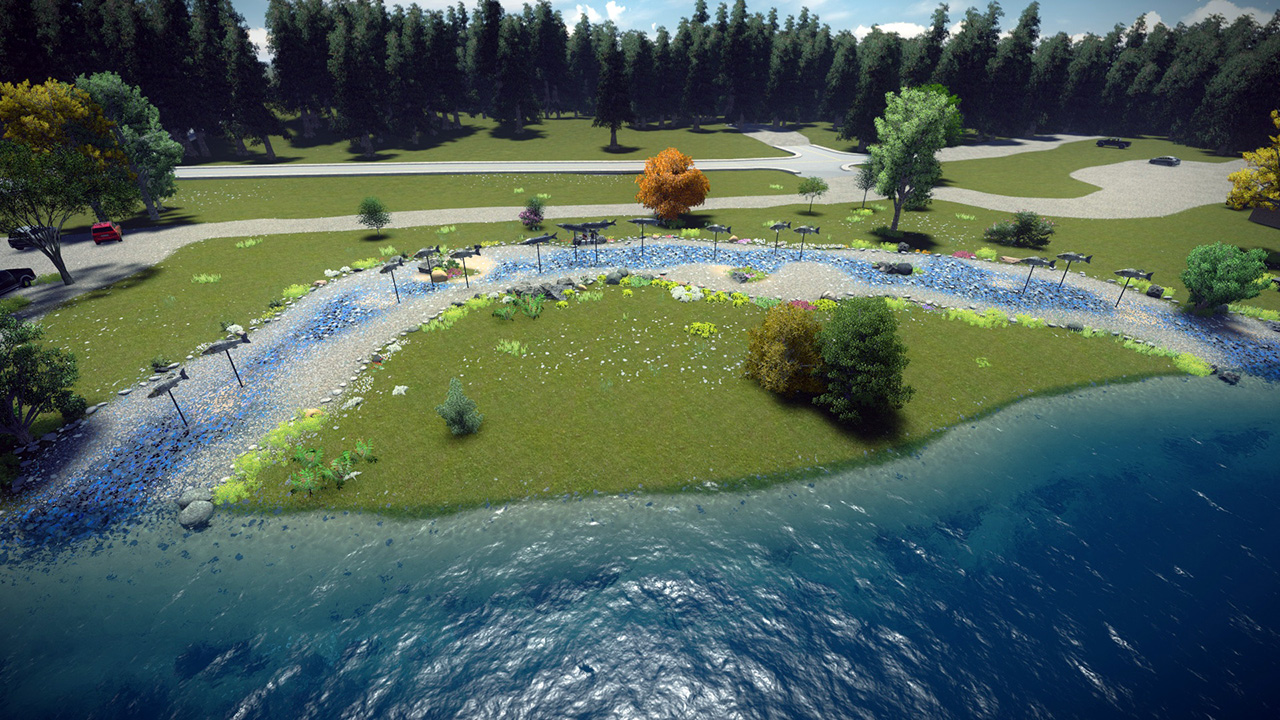
7. Detailing the Landscape
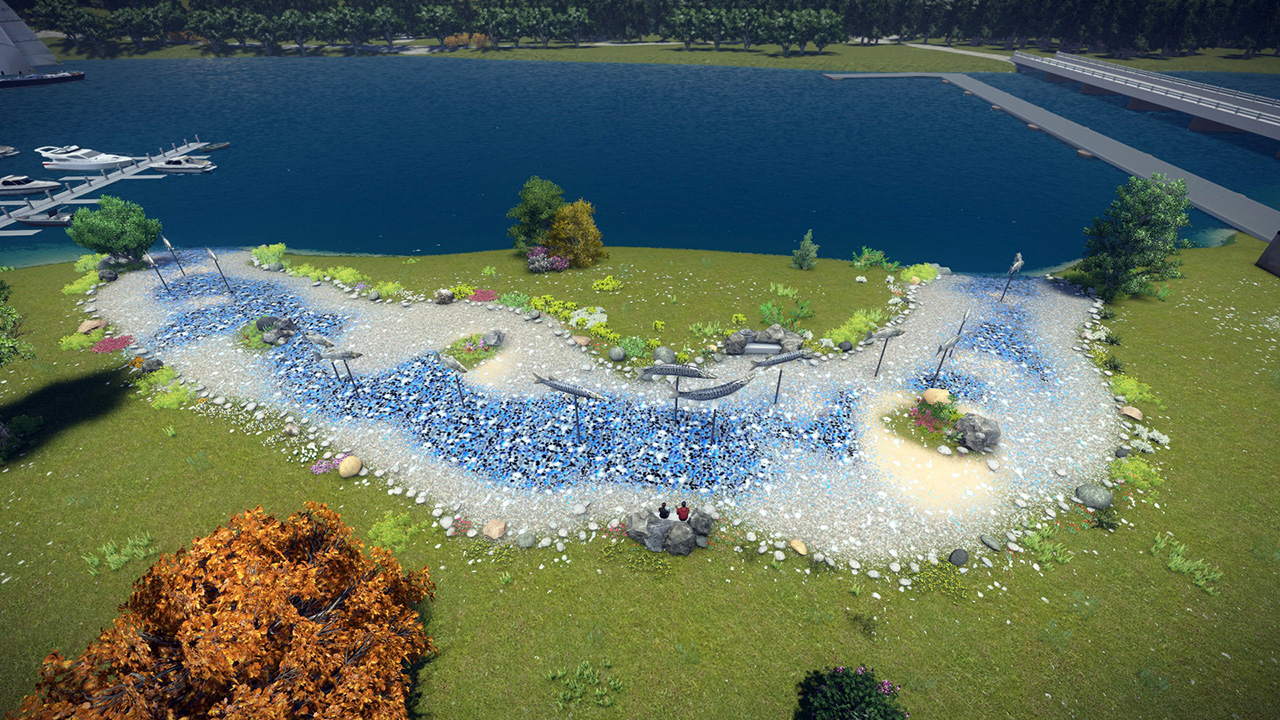
After another Skype chat with the client I began adding more details to the environment, more rocks, foliage and trees. The path is now connected up to the waterline and I started a basic formation for the varied fish swimming along the path. I was really happy with the results that I was getting here.
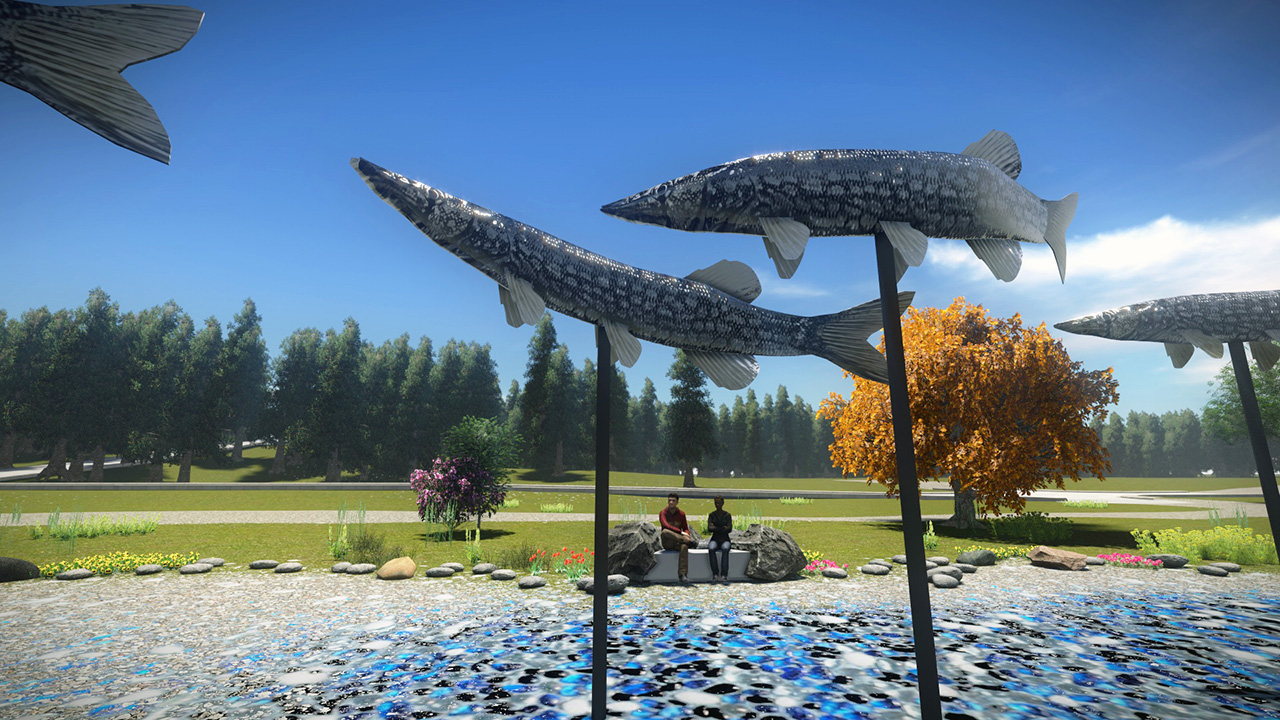
8. Finishing the Fish
After finalizing my technique for the fish texture and scales effect I went back to the Pike and Pickerel that I had previously modeled and improved their appearance. The images here show them before the applying the new textures.
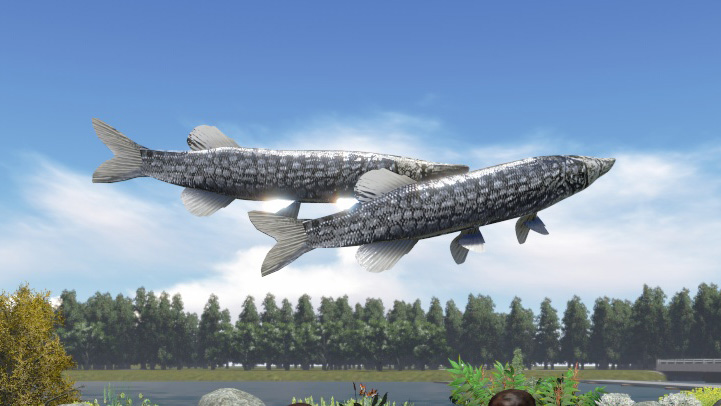
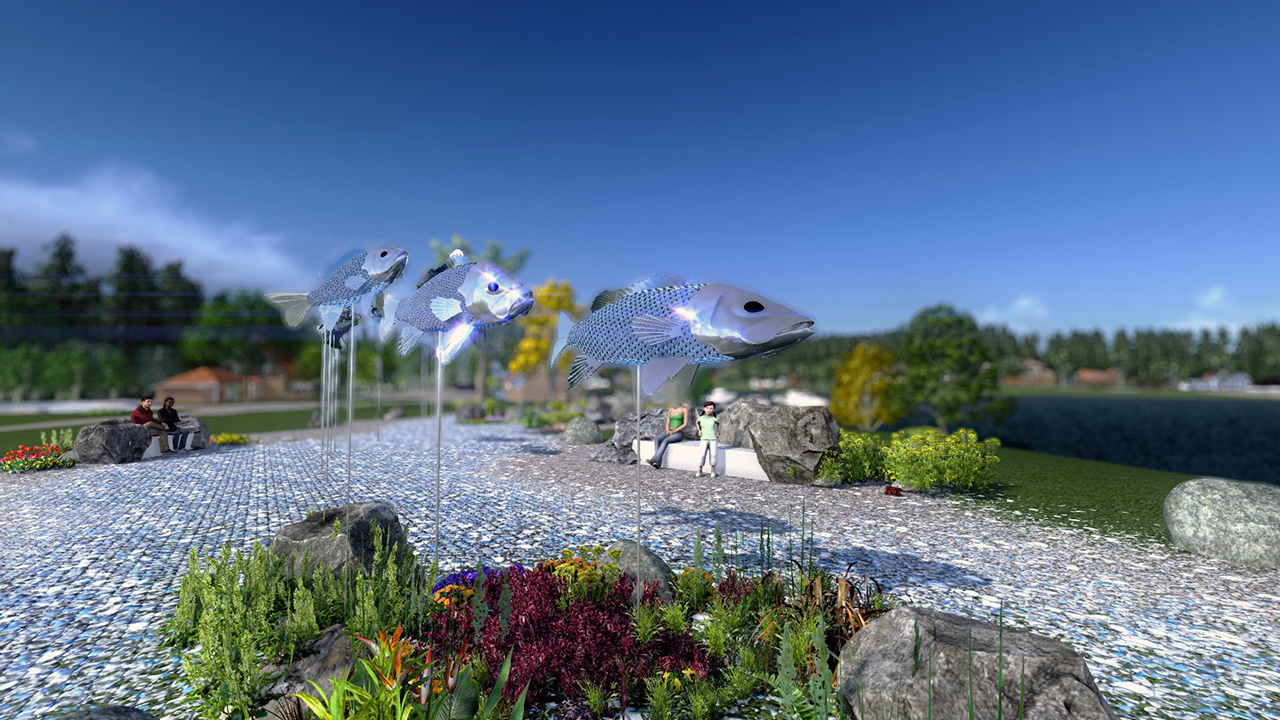
The images below show the final production assets used in the competed video. I added some depth of field blur to the background, softened the shadows and added a slight lens flare to the suns reflection on the fish. In the video the light shining over the scales looks like an electric shimmer. Both me and my client were very happy with the results.
9. Fish Sculptures 3D Visualization – Hastings Park, Ontario
I rendered out each frame as an individual JPG file, for this project 3,447 in total, and then I compile those images into a single animation. I do so this that I can maintain the highest quality possible from the output render, and sometimes the software can crash after it’s been working for a substantial amount of time producing the video footage so this way I could continue the render from the last successful outputted frame rather than having to start the video rendering process from the beginning again.